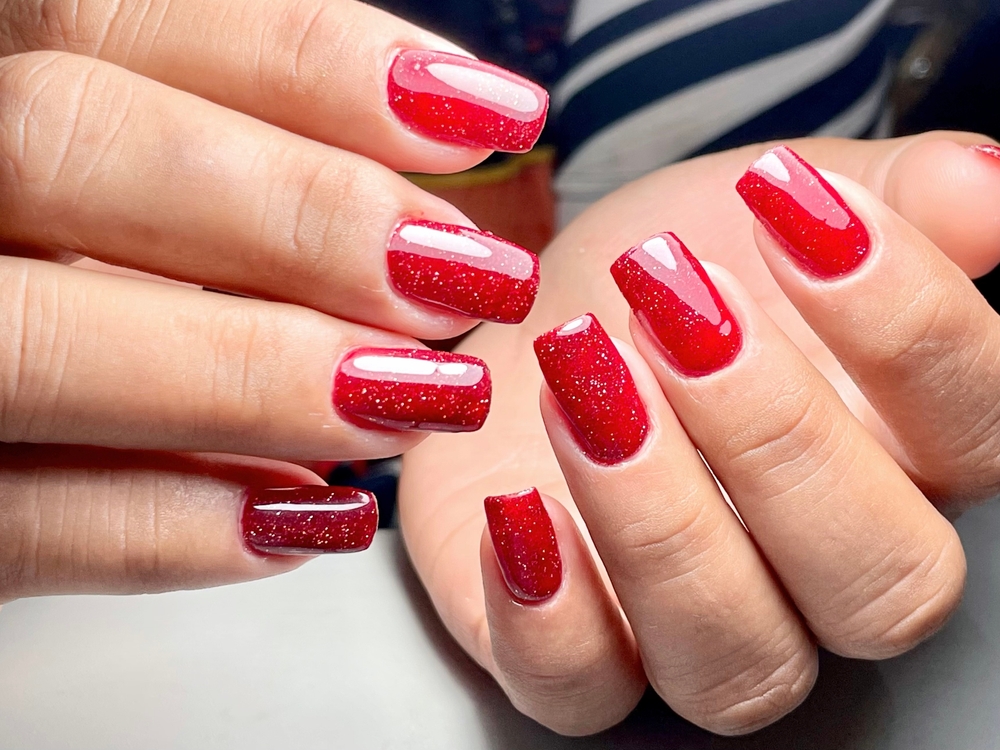
What Are Nail Extensions?
Nail Extensions for Beginners: Nail extensions are artificial enhancements applied over your natural nails to add length, strength, and style. They are perfect for anyone looking to achieve flawless nails for special occasions or everyday wear without waiting for natural growth.
Why Choose Nail Extensions?
- Instant Length and Style: Get beautifully long nails in just one session.
- Versatility: Choose from a wide range of designs, shapes, and colors.
- Durability: Properly applied nail extensions can last for weeks with minimal maintenance.
Types of Nail Extensions
1. Acrylic Nail Extensions
- Made from a mixture of liquid monomer and powder polymer.
- Durable and strong, perfect for those who want long-lasting nails.
- Ideal for intricate nail art designs.
2. Gel Nail Extensions
- Created using gel-based products and cured under a UV/LED lamp.
- Sleek and natural-looking finish.
- Lighter and more flexible than acrylics.
3. Fiberglass or Silk Wrap Extensions
- Thin layers of silk or fiberglass applied over nails for added strength.
- Best for repairing broken nails or adding slight length.
4. Press-On Extensions
- Pre-designed nails that can be glued or taped onto natural nails.
- Quick and easy to apply, ideal for beginners or temporary use.

Step-by-Step Guide for Beginners
Step 1: Choose the Right Type
Select the extension type that suits your lifestyle, budget, and desired look. Gel extensions are perfect for natural-looking nails, while acrylics are great for bold, long-lasting designs.
Step 2: Gather Your Tools
- Nail file and buffer
- Cuticle pusher
- Nail glue or forms
- Acrylic, gel, or press-on materials
- UV/LED lamp (for gel extensions)
- Topcoat and base coat
Step 3: Prep Your Nails
- Clean your nails thoroughly and remove any old polish.
- Gently push back your cuticles.
- File and buff your nails to create a smooth surface.
Step 4: Apply the Extensions
- For Acrylics: Mix liquid monomer and powder polymer, then shape and apply.
- For Gel: Apply gel layer by layer, curing each layer under a UV/LED lamp.
- For Press-Ons: Apply nail glue or adhesive tape to secure the extensions.
Step 5: Shape and Polish
After the extensions are secure, file them to your desired shape and add polish or designs.
Common Mistakes to Avoid
- Skipping Nail Prep: Always clean and buff your nails to ensure proper adhesion.
- Applying Too Thickly: Thin, even layers are key for natural-looking extensions.
- Over-Curing Gel: Follow the recommended curing time to avoid brittleness.
Tips for Maintenance
- Avoid using nails as tools to prevent lifting or breakage.
- Moisturize your cuticles regularly.
- Refill or touch up extensions every 2-3 weeks to maintain their look.
Are Nail Extensions Safe for Beginners?
Yes, as long as you follow proper application and removal techniques. Over-filing or improper removal can damage your natural nails, so it’s important to be gentle and patient.
Final Thoughts
Nail extensions are an exciting way to elevate your look and boost confidence. With the right tools, techniques, and care, even beginners can achieve stunning results. Ready to try nail extensions? Dive in and start your journey to flawless nails today!
Discover More About Nail Spa Services
Book your nail spa appointment today and indulge in the perfect blend of relaxation and beauty with Minounails! Contact us now.
Read more related articles to enhance your knowledge and make informed decisions about cosmetic procedures.
Minou Nails Best Semi Permanent Makeup in Delhi
What is Semi-Permanent Makeup – What It Is and Why It’s Popular


